Elastic Load Balancer (ELB) in AWS? Hands on Application Load Balancer


Table of contents


No headings in the article.
Elastic Load Balancing distributes incoming application or network traffic across multiple targets, such as Amazon EC2 instances, containers and IP Addresses in multiple Availability Zones.
Why Elastic Load Balancing?
It distributes the traffic among various computing resources.
It helps to increase the fault tolerance of the application.
It improves the performance of the application by distributing the traffic.
There are primarily 4 types of Elastic Load Balancing in AWS
Application Load Balancer: The application Load Balancer routes traffic based on advanced application information that includes the content of the request only used for HTTP, HTTPS and gRPC.
Network Load Balancer: A network load balancer functions at the fourth layer of the open systems interconnection (OSI) model. It can handle millions of requests per second while maintaining low latency and high throughput, making it well-suited for high-performance applications.
Gateway Load Balancer: It is a load balancing solution provided by cloud providers such as AWS, Google Cloud, and Azure to distribute incoming traffic among multiple backend resources (such as EC2 instances, containers, and VMs) to optimize resource utilization, minimize response times, and ensure high availability. It operates at the network layer (layer 4 of the OSI model) and forwards traffic based on IP addresses and port numbers.
Classic Load Balancer: It is one of the easiest load balancers that routes traffic based on either application or network-level information
The classic Load Balancer is ideal for simple load balancing of traffic across multiple ec2 instances
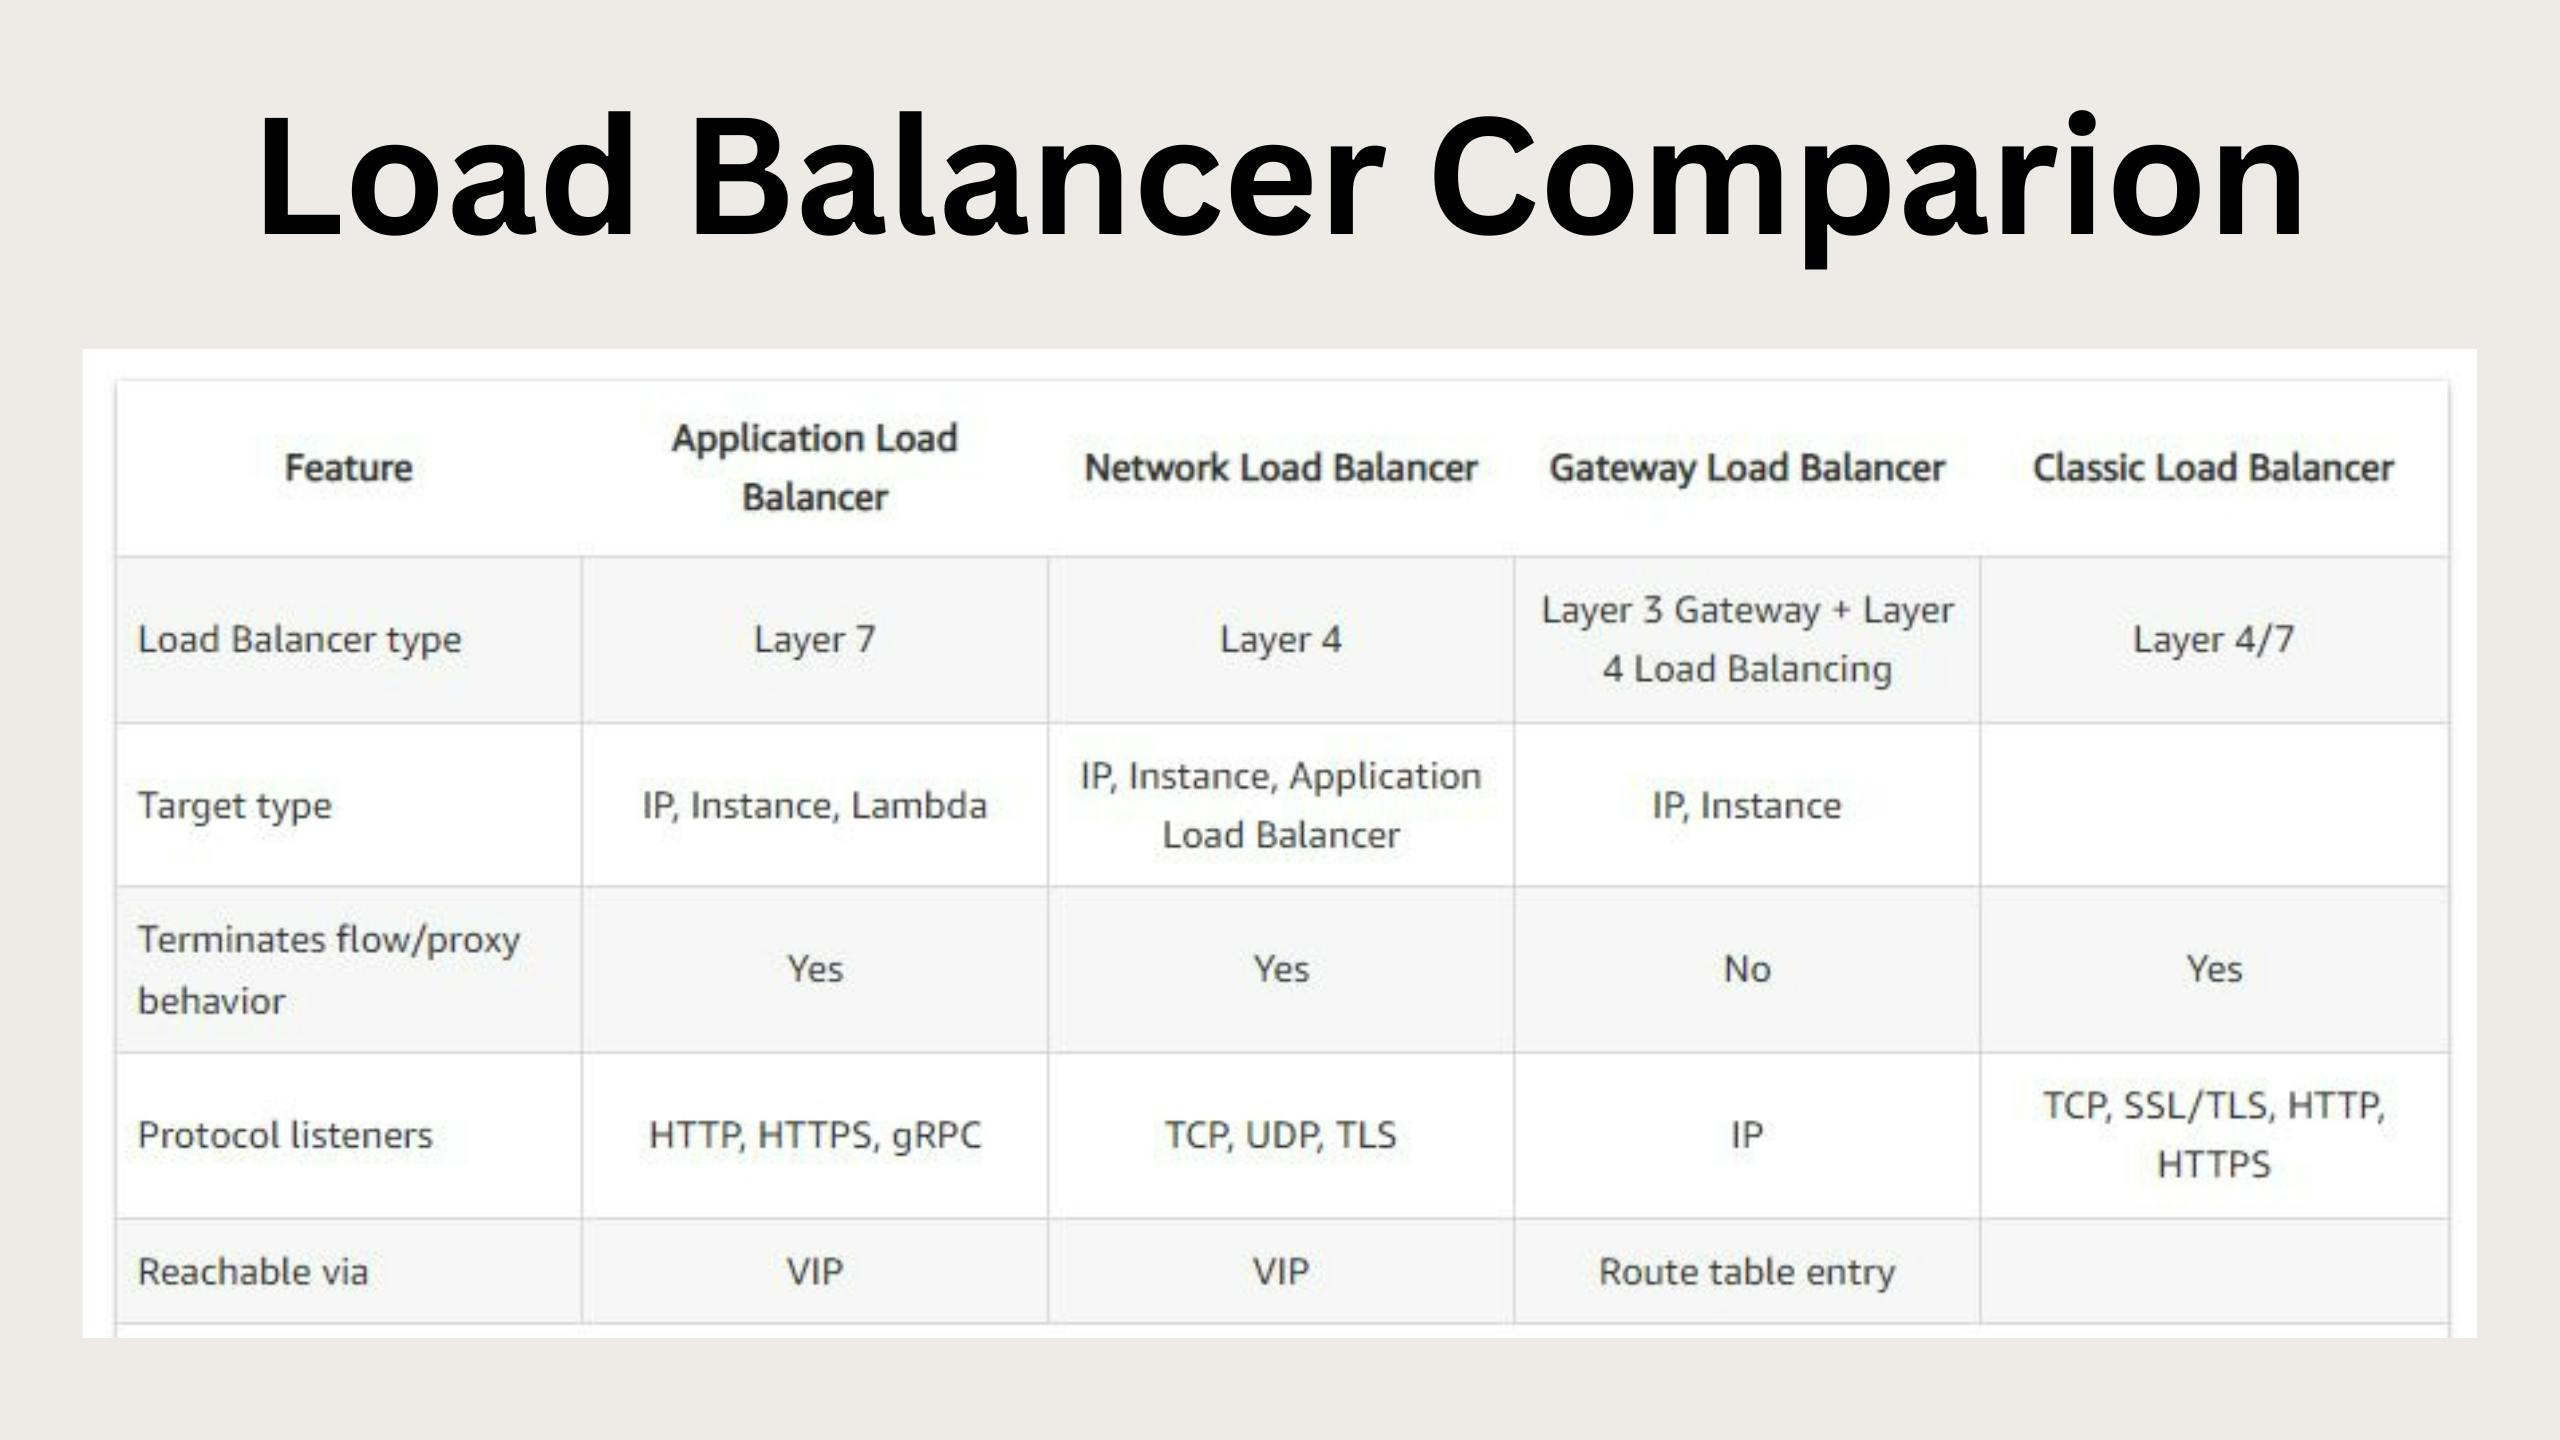
Ref: Layer indicates the OSI Level
Hands-On Application Load Balancer
Create an instance on EC2 instance using the following
EC2 Details:
Name: WebApp01
OS: CentOS7
Instance Type: T2 Micro
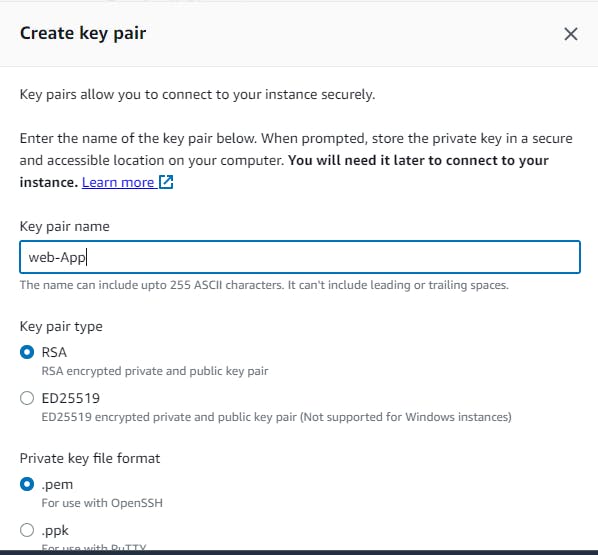
Key Pair:web-App
Network Setting
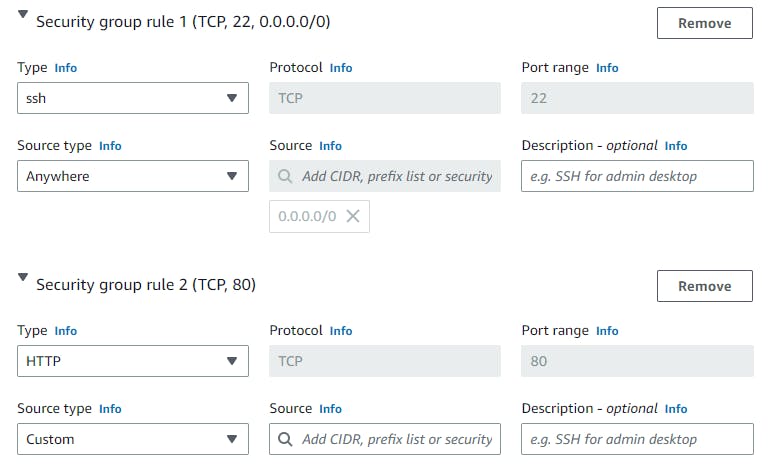
SG Name: App-Load-SG
SG Rules as below
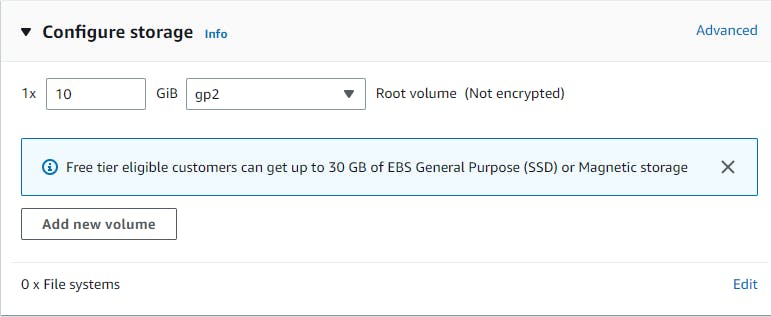
Configure Storage
Keep the Default as 10GB
Advanced Details
In Advanced details navigate to the user data option and paste the following template providing code.
#!/bin/bash

# Variable Declaration
#PACKAGE="httpd wget unzip"
#SVC="httpd"
URL='https://www.tooplate.com/zip-templates/2132_clean_work.zip'
ART_NAME='2132_clean_work'
TEMPDIR="/tmp/webfiles"

yum --help &> /dev/null

if [ $? -eq 0 ]
then
   # Set Variables for CentOS
   PACKAGE="httpd wget unzip"
   SVC="httpd"

   echo "Running Setup on CentOS"
   # Installing Dependencies
   echo "########################################"
   echo "Installing packages."
   echo "########################################"
   sudo yum install $PACKAGE -y > /dev/null
   echo

   # Start & Enable Service
   echo "########################################"
   echo "Start & Enable HTTPD Service"
   echo "########################################"
   sudo systemctl start $SVC
   sudo systemctl enable $SVC
   echo

   # Creating Temp Directory
   echo "########################################"
   echo "Starting Artifact Deployment"
   echo "########################################"
   mkdir -p $TEMPDIR
   cd $TEMPDIR
   echo

   wget $URL > /dev/null
   unzip $ART_NAME.zip > /dev/null
   sudo cp -r $ART_NAME/* /var/www/html/
   echo

   # Bounce Service
   echo "########################################"
   echo "Restarting HTTPD service"
   echo "########################################"
   systemctl restart $SVC
   echo

   # Clean Up
   echo "########################################"
   echo "Removing Temporary Files"
   echo "########################################"
   rm -rf $TEMPDIR
   echo

   sudo systemctl status $SVC
   ls /var/www/html/

else
    # Set Variables for Ubuntu
   PACKAGE="apache2 wget unzip"
   SVC="apache2"

   echo "Running Setup on CentOS"
   # Installing Dependencies
   echo "########################################"
   echo "Installing packages."
   echo "########################################"
   sudo apt update
   sudo apt install $PACKAGE -y > /dev/null
   echo

   # Start & Enable Service
   echo "########################################"
   echo "Start & Enable HTTPD Service"
   echo "########################################"
   sudo systemctl start $SVC
   sudo systemctl enable $SVC
   echo

   # Creating Temp Directory
   echo "########################################"
   echo "Starting Artifact Deployment"
   echo "########################################"
   mkdir -p $TEMPDIR
   cd $TEMPDIR
   echo

   wget $URL > /dev/null
   unzip $ART_NAME.zip > /dev/null
   sudo cp -r $ART_NAME/* /var/www/html/
   echo

   # Bounce Service
   echo "########################################"
   echo "Restarting HTTPD service"
   echo "########################################"
   systemctl restart $SVC
   echo

   # Clean Up
   echo "########################################"
   echo "Removing Temporary Files"
   echo "########################################"
   rm -rf $TEMPDIR
   echo

   sudo systemctl status $SVC
   ls /var/www/html/
fi
Now Lunch the Instance and after a few minutes check the web app using the public IP address you should get something as below
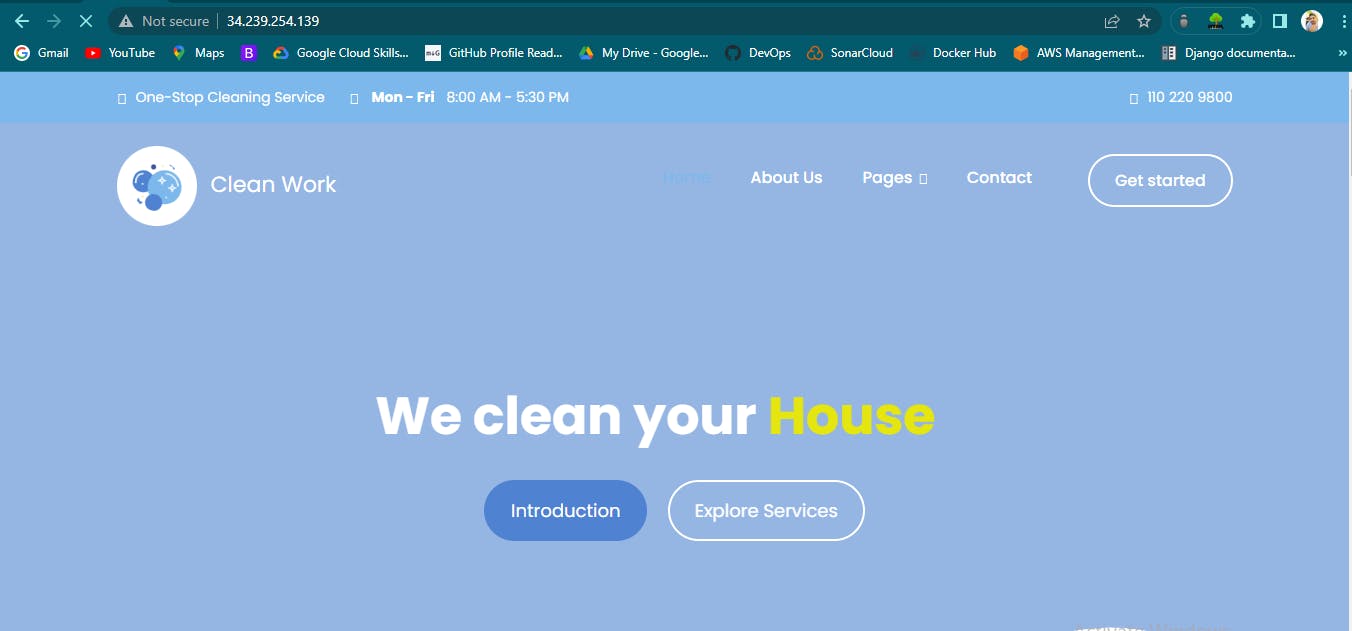
Great! Now you got your web application (web template) running.
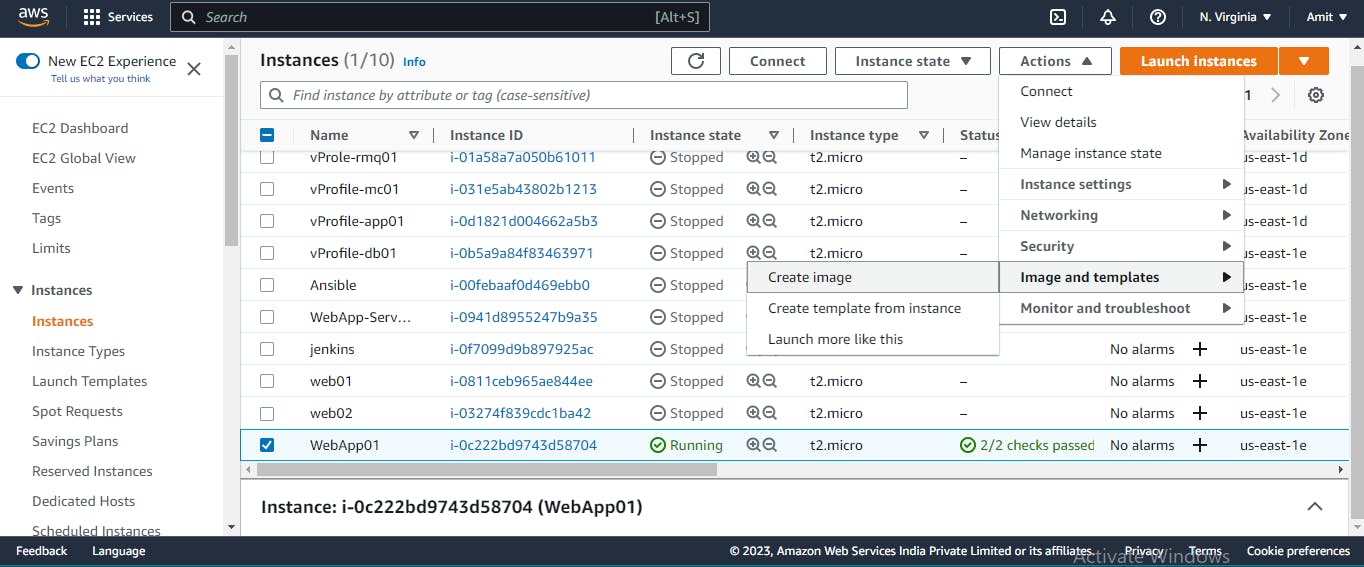
Now Select
Instance - > Click on Actions - > Image and templates - > create image
Now give the image name and create the image
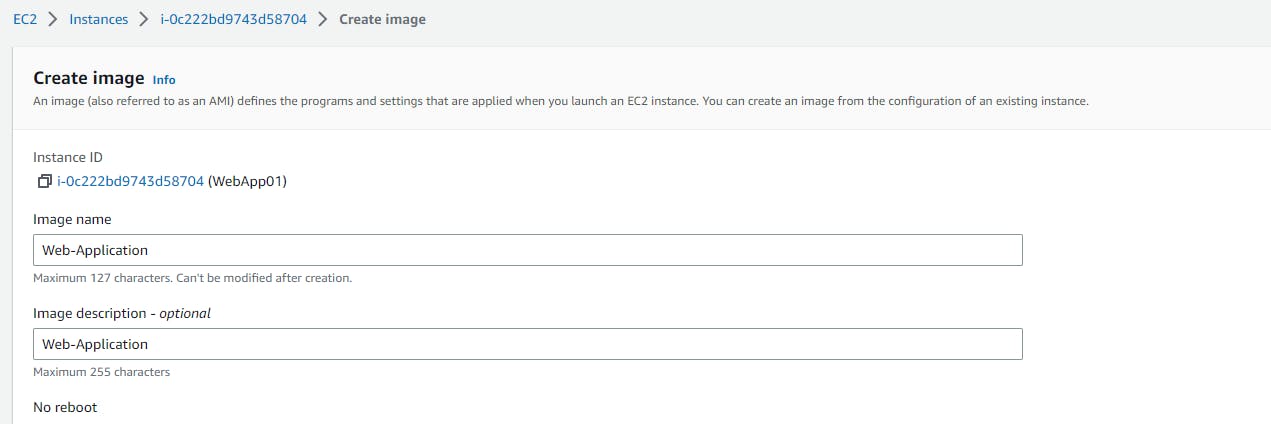
Now you have created the image
Navigate to the Lunch Template
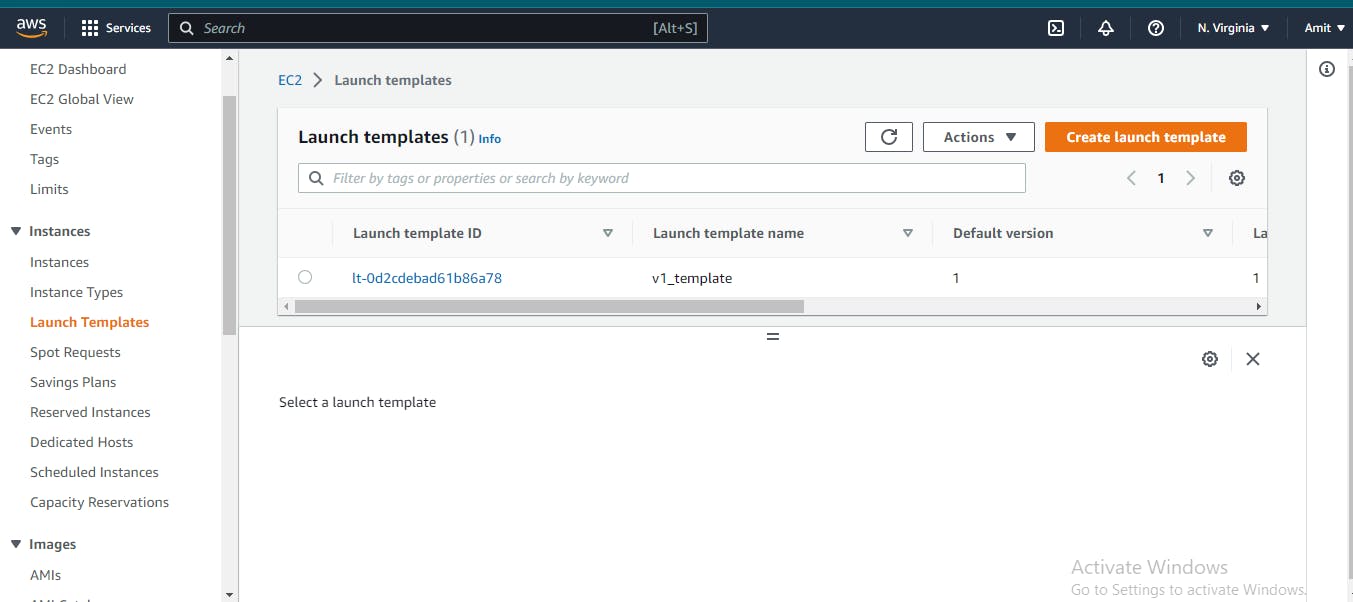
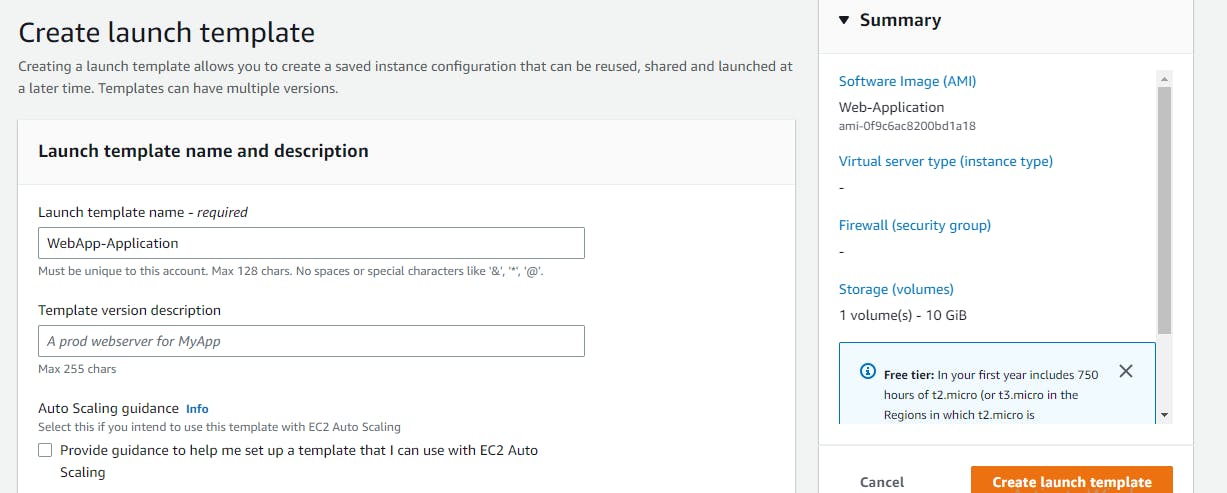
Click on Create Launch template
Launch template name
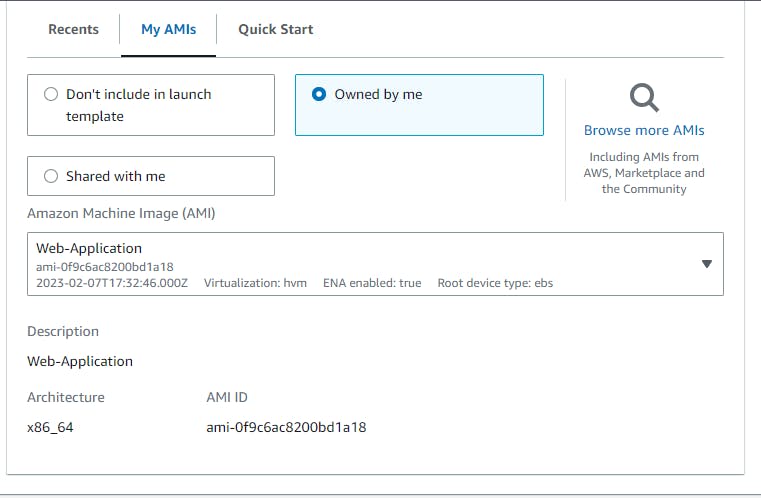
Select My Ami
Key pair login
Select the already existing key pair
Network Setting
SG: Select the existing SG of the Web App already created.
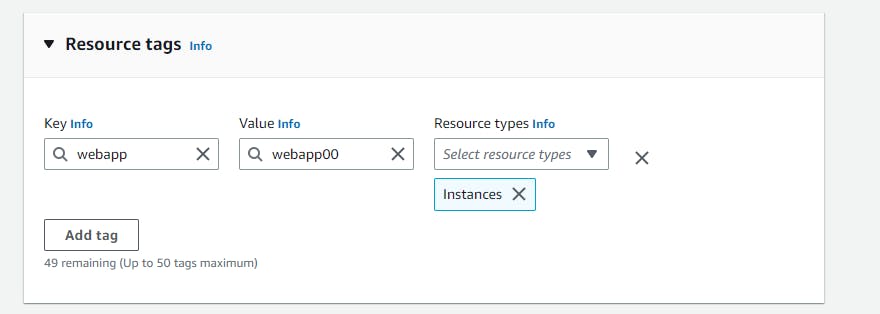
Resource tags: Put tags for tracking
Now click on the Actions and Launch an instance from the template

Now lunch the 2nd Instance using the template

Now lunch the template instance
So now you will have two instances running webapp01 and webapp02
Now navigate to the Load Balancing and click on the target group.
Target Group: Group of Instance
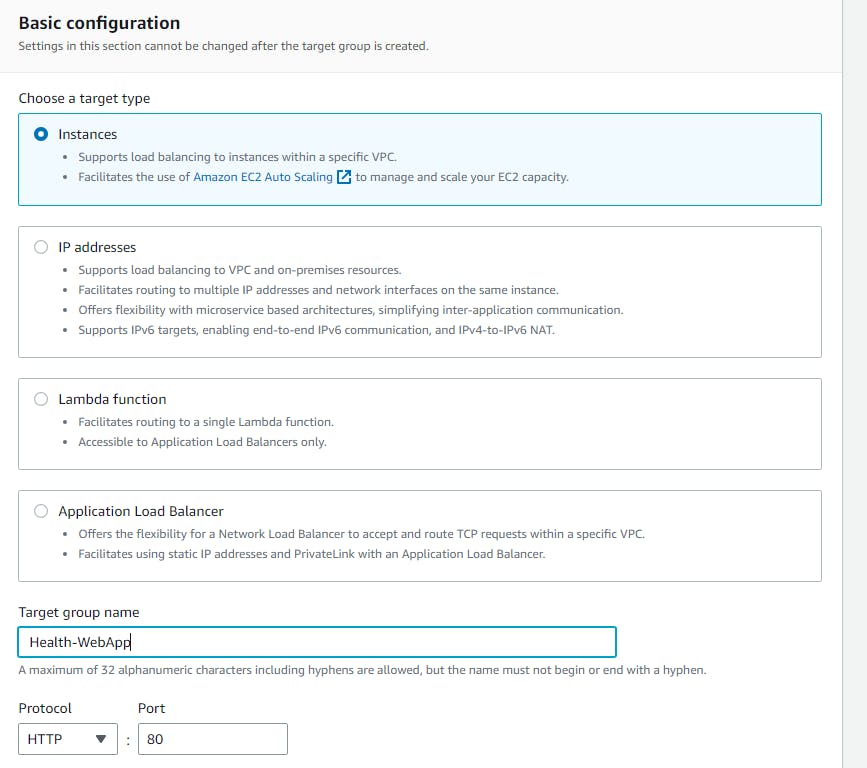
Create target group
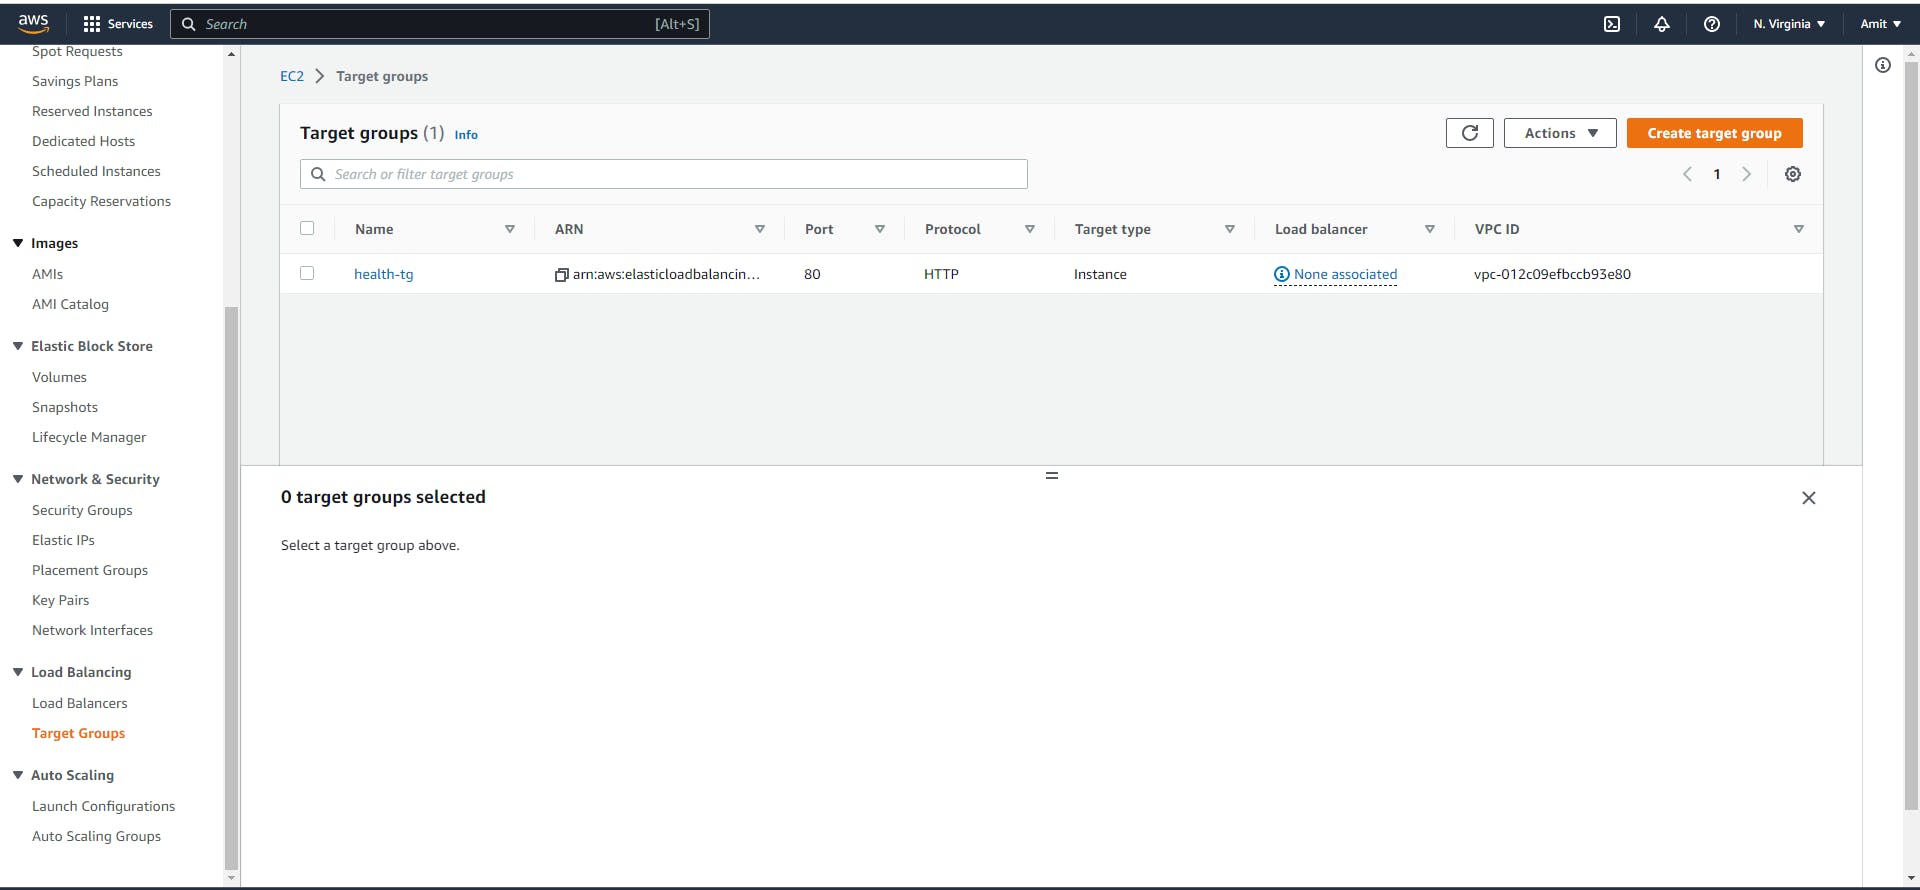
Now in the group details give the name of the target group
Now Select both the running instance in the group
So now you have the target group
Navigate to the Load Balancer
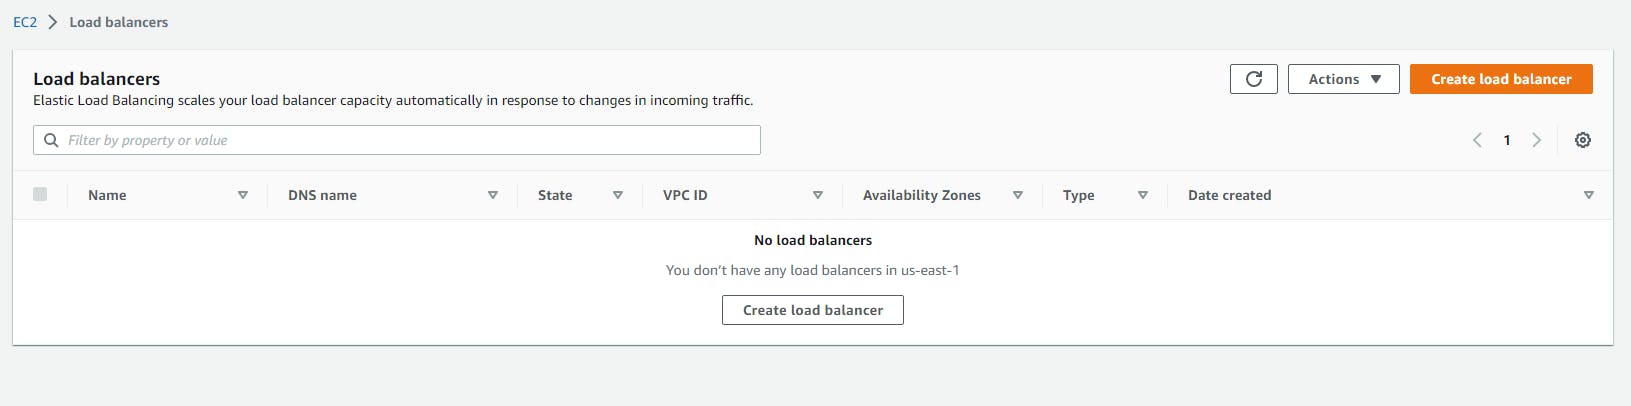
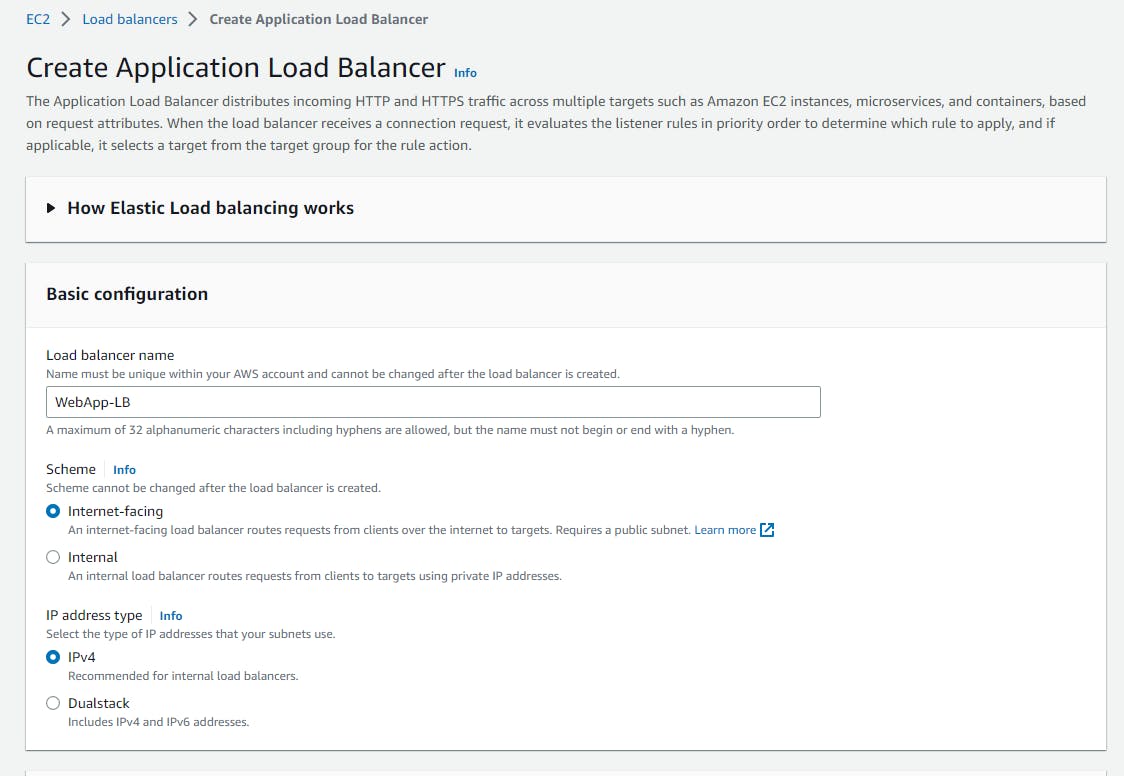
Click on Create Load Balancer and Select Application Load Balancer
Basic Configuration
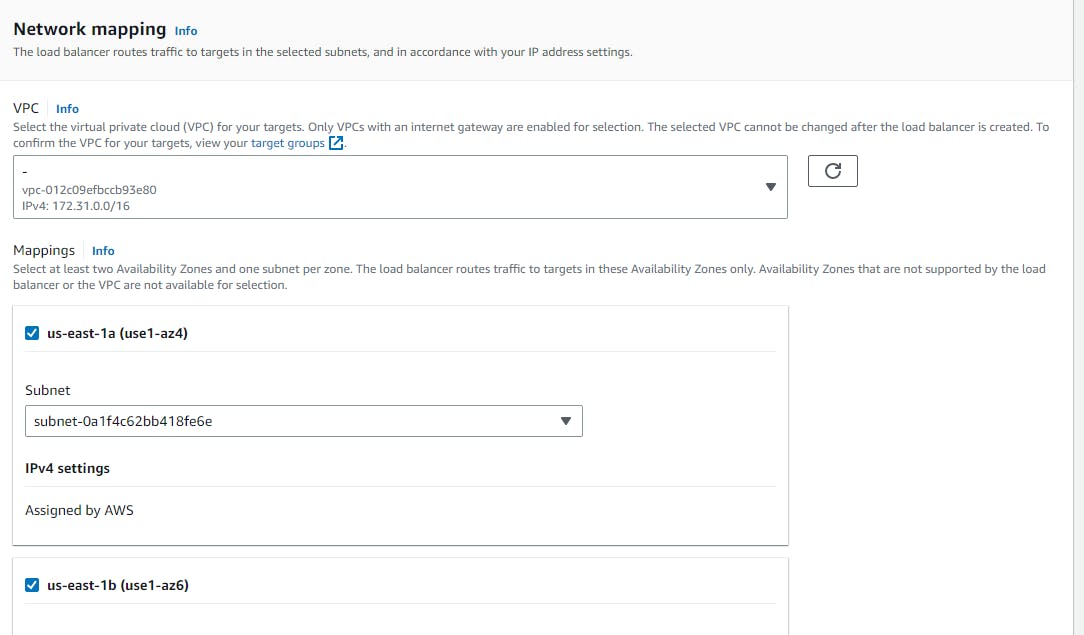
Network Mapping
Select the Zone as required (or select each Zone)
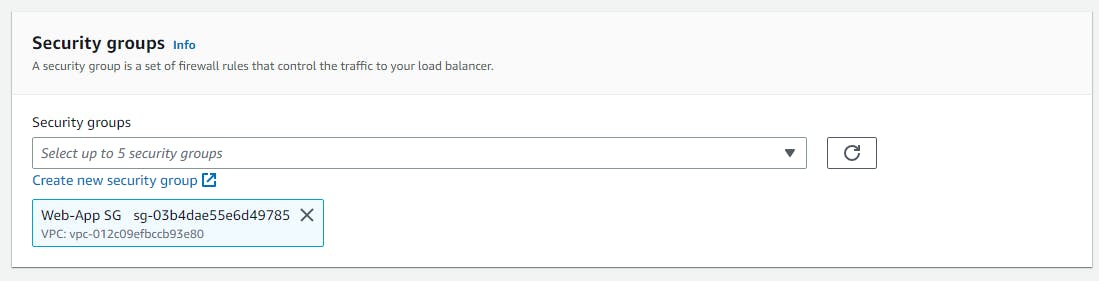
Security Group
Select the WebApp SG which we had created and remove the default
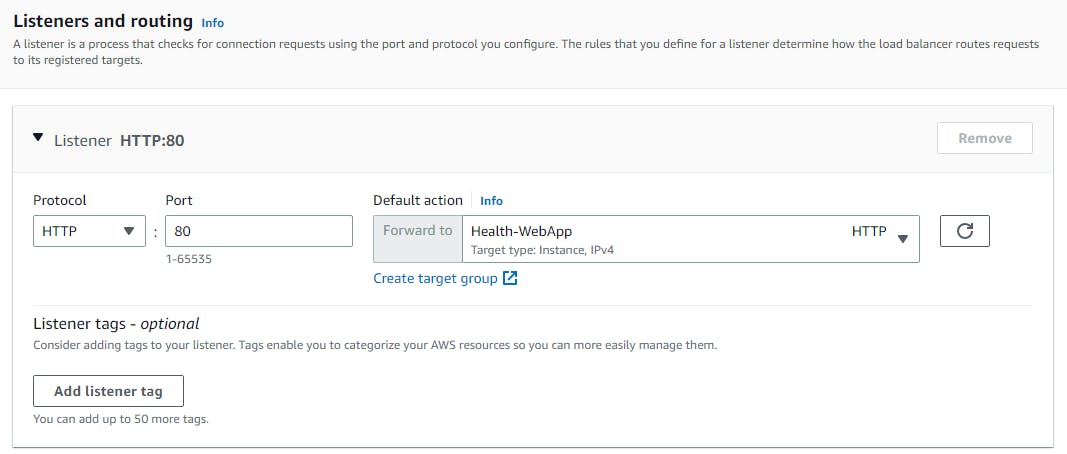
Listeners and routing
Select the group which we have created
Now click on Create Load Balancer
Now Copy the DNS and Paste it into the Browser and Now you should see your web template up and running.
Well, this was the article about Elastic Load Balancer. Please let me know if you have any feedback or recommendation regarding the article. Happy Learning